If you would like to check your files before uploading, please see TSGen.Check.
Note
Windows defender or other antivirus programs may interfere with the mentioned programs, either run them as administrator or let them through temporarily.
Required files for Thunderstore
Thunderstore requires 3 files to be present in your .zip upload:
- An icon, 256x256 in size
- A Thunderstore manifest that contains information about your mod
- A README file that displays text and images on your main page
The best thing to do is to log into Thunderstore using Discord or Github and checking the full details on the upload page.
Please see the Creating a Thunderstore Package page for details on how to place your mod into this file structure. After which, all you need to do is zip the files inside of the mod folder and upload it.
Using TSGen to Generate required files
Head on over to TSGen's github and download their latest release. You probably want
to download TSGen_Extract_This.zip and extract it to it's own folder.
Running TSGen.exe will greet you with this page:
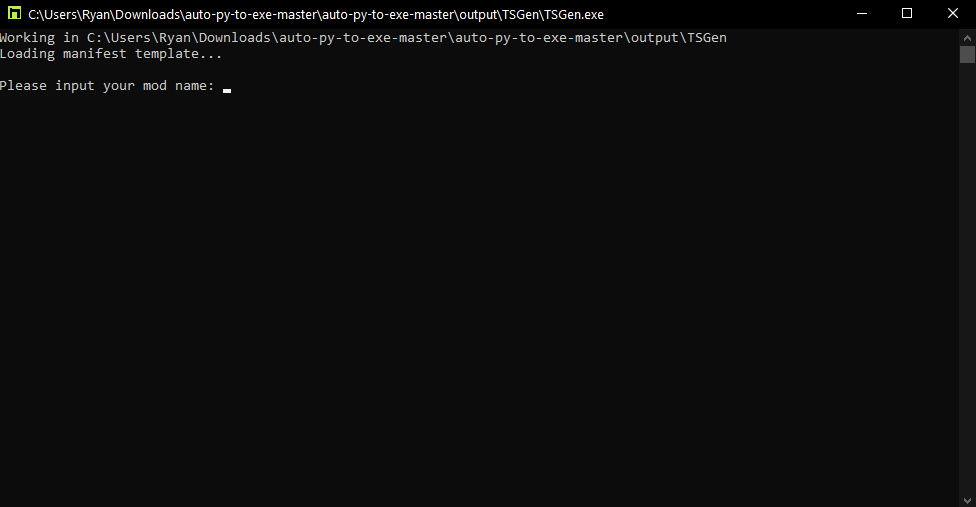
TSGen will prompt you for some general information about your mod:
- Mod name
- Version (It needs to be in the x.x.x format)
- Website url (usually for github links)
- Short description (displayed beside your mod in r2modman)
- Long description (displayed in the README file on the main page of your mod)
Next, it will prompt you for dependencies that your mod uses.
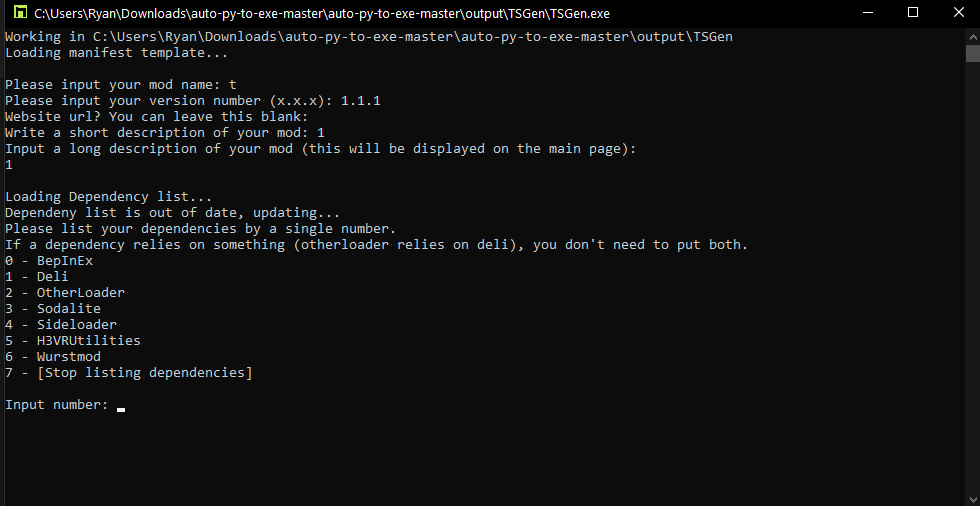
Input the number that corresponds to the top level dependencies you need.
Example:
Mod A requires WurstMod, Deli, and BepInEx

WurstMod requires Deli

Deli requires BepInEx

So Mod A's dependencies are:
- WurstMod
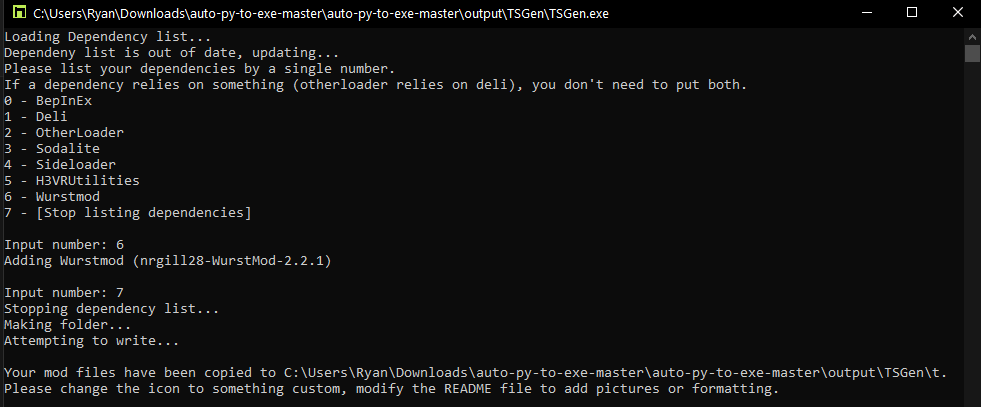
In the above picture you can see what the example would do in it's situation. You can close TSGen now by hitting enter or by closing the window.
Inside of the extracted TSGen folder, you should see a folder by the name of your mod:
[Your mod name]/
    icon.png
    manifest.json
    README.md
Manual Creation
Note
The manifests created from TSGen can still be modified using this section.
icon.png
icon.png is a box 256 pixels wide and tall. It is the icon that will be displayed on the Thunderstore website. Note
that it must be 256x256. If you are new to making images, a tool such
as paint.net can be useful for making quick images, as they are relatively easy
to learn.
manifest.json
The default manifest looks like follows:
{
  "name": "My_Mod_Name",
  "version_number": "1.0.0",
  "website_url": "https://thebestsiteevermadeforh3vrmodding.com",
  "description": "My mod is definitely a mod (250 characters max)",
  "dependencies": [
    "Author1-FirstDependency-Version",
    "Author2-SecondDependency-Version",
    "Author3-ThirdDependency-Version"
  ]
}
The name must not contain spaces. Replace your spaces with _s.
The website_url can be empty ("website_url": "",) if you do not have a website.
Dependencies are taken from the Thunderstore website. They are mods that your mod relies on. They can be seen from their
page on Thunderstore. Copy and paste the string listed to your dependencies.

Note
Once you have uploaded a mod under a name, the name cannot be changed. Also, it must be noted that you can only upload once per version. If you upload v1.0.0, you must change your version next time you upload.
README.md
The README.md is the description by the mod. Often forgotten because it is not visible through the Mod Manager (As of
yet, anyway), it is what displays on Thunderstore when you click on a mod. You can test your markdown
through Thunderstore's Markdown Preview tool. If you're new to
Markdown, check out this guide!
Once you've fancied up your description, make a new text file and rename it to README.md. Open it up using a text
editor and paste your fancy text.
Once you have these three files, you should end up with this:
[Your mod name]/
    icon.png
    manifest.json
    README.md
Please see the the next step, Adding Your H3VR Content To Your Package page for details on how to place your mod into this file structure.